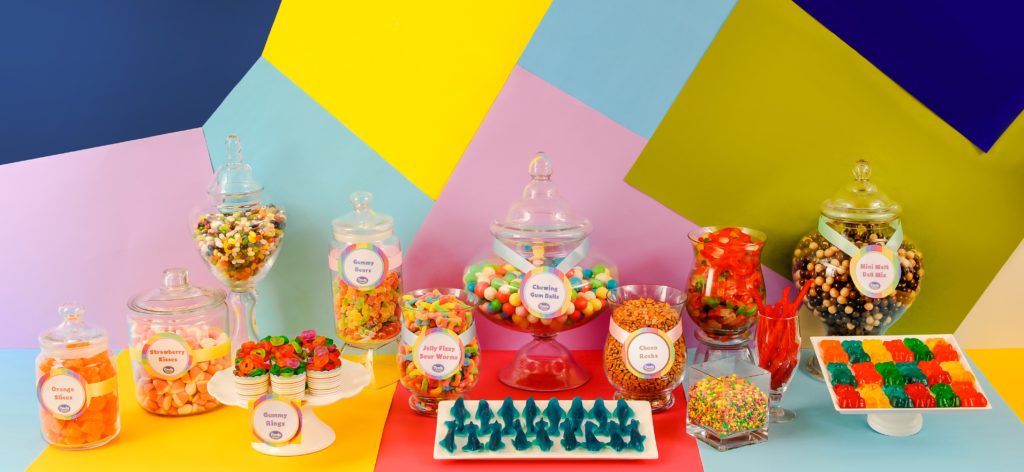
Everyone loves a party, whether it’s a small intimate gathering or a big festive celebration. There’s no doubt that we won’t hesitate to have a good time with family and friends, whether it’s for a birthday, baby shower, despedidas or even a family reunion. One great way to add a sweet touch to any occasion and make it extra memorable is by making your very own CANDY BUFFET!
Candy Buffets bring an added WOW factor to any event! All those fun and exciting colors, and different shapes and sizes will definitely put a smile on your guests’ faces and appeal to their children—or inner children! The wide array of candies and chocolates are definitely a feast for the eyes and of course, for the tastebuds as well! These beautiful set-ups may seem intimidating, but they’re incredibly easy to make, especially with a little help from Candy Corner.
Here are some easy steps on how to put together your very own Candy Buffet:
Step 1: What is your budget and how many are attending?
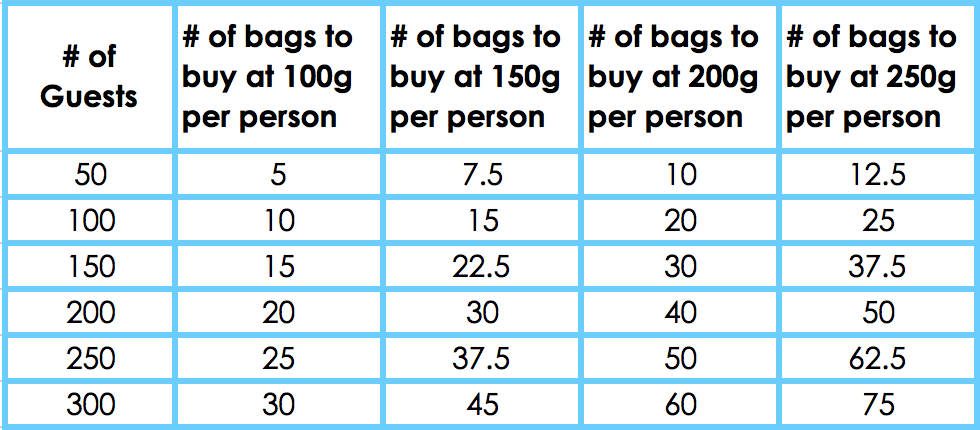
It’s easy to go over board planning a candy buffet so let’s start with the basics: make sure each attending guest gets a good amount of candy and it fits within your budget! We recommend planning for each guest to take home 200g of candy. Bulk candies are usually sold by the kilo. Not sure how to start? Here’s a simple guide to help you figure out how many kilos of candy you actually need to buy:
Now that you’ve got the quantity of candies you need, now is the fun part: choosing your varieties of candy! The more guests you have, the more variety you should include. Here are some tips:
- For large events and weddings (100+ guests), plan on getting 8 to 10 different types of candy.
- For small events (fewer than 100 guests), plan on getting 5 to 8 different types of candy.


Step 2: Pick out your candy!
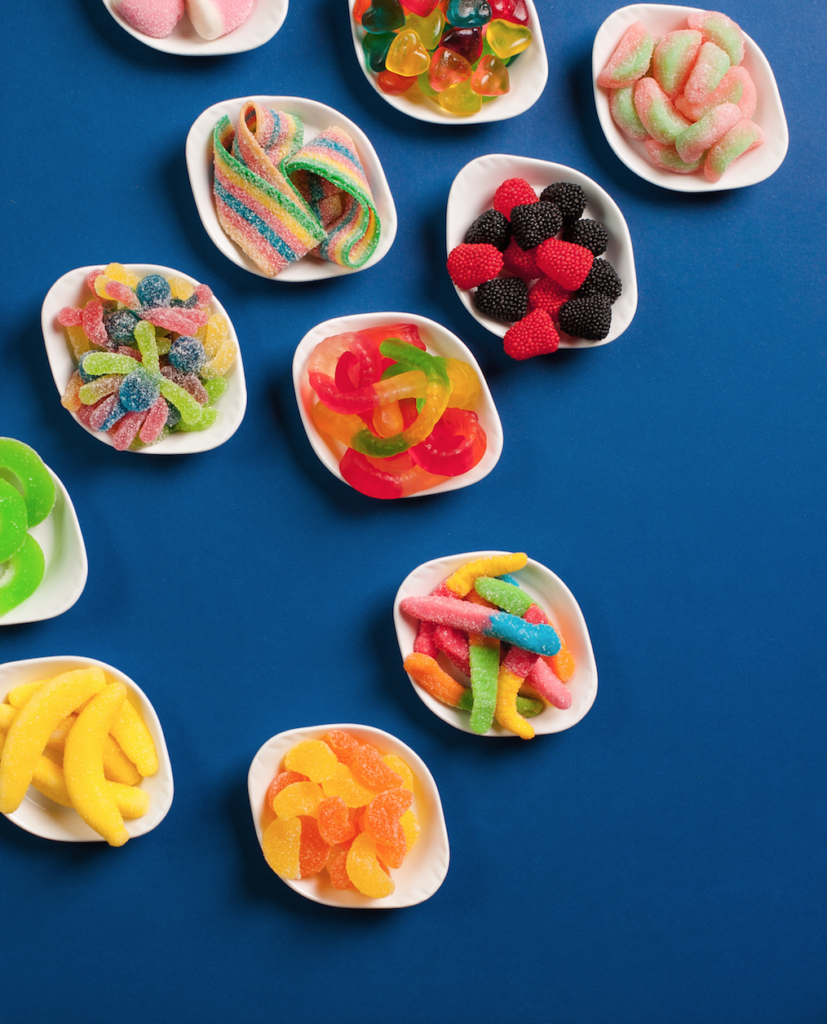
Make sure you balance out your candies because variety is the spice of life! Having different types of sweets makes your selection more interesting and appealing for your guests so that you cover all tastes and preferences. Here are some of our tips in ensuring your sweet selection is the best it can be:
- Have a variety of types of candy colors, flavors,and textures so you capture everyone’s tastes and preferences
- Manage a balance of oil coated gummies and sour gummies
- Throw in some chocolates, cookies, cupcakes, nuts, popcorn, pretzels, and other sweet surprises you can come up with!
- Maintain a common theme or color scheme for those #aesthetic goals! Mix hues of pink with white and gold for that baby shower, or an under the sea theme for your kiddie party, anything goes!
Candy Corner’s Online Shop features a Candy Buffet Builder that makes picking out your candies a breeze! Shop candies by color, by type, by brand and by price! We’ve also thrown in a few keywords like #babyshower #weddings and #birthdays so you can easily find the candies that coincide with your theme!

CANDIES BULK

CHOCOLATES BULK

JELLY BEANS BULK
Step 3: Choose your giveaways’ container
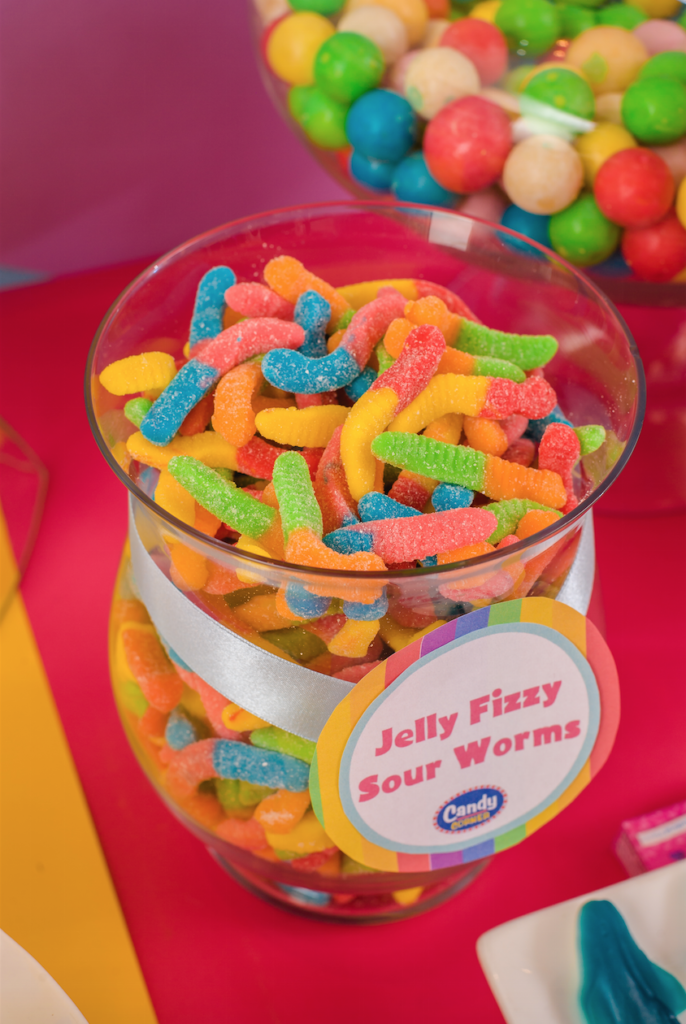
What’s a great candy buffet without super cute packaging that your guests can take their goodies home in? Make use of glass jars, acrylic containers in fun shapes, or food grade acetate boxes. Personalize them with a label/tag that goes with your party theme or push it a bit further and customize each label with the name of your guests!
We’ve got a great selection of Fillables that you can choose from, and some free downloadable label templates to get you started! We also offer free Candy Corner biodegradable plasticbags (maximum of 200 pcs) if you’re looking to allocating that budget to more candy instead.
Step 4: Assess Your Display Containers
You might have the sweets ready, but you’ll need to display it properly of course!
What containers do you have on hand?: Walk into your kitchen or storage and assess what you already have. Look for clear, acrylic or glass jars and vases, bowls, plates, platters. The more diverse the shapes and sizes, the better! This is so that the color of the candies can shine through.
Here are some examples of some jars, bowls and platters you can easily find at home or in your closest department store for cheap. Be sure to have 3 obviously different sizes – small, medium, and large. This will not only make it easier to hold different types of candy, but it will also help create depth and make your buffet look larger and more interesting.

Step 5: Set Up Your Candy Buffet!
Now let’s start with your buffet table. It will be best to create your set up on a long, narrow table. Avoid using a table that is too big to give the illusion that you have a full and compact set-up.
Zoning: Divide the table into 3 spaces: the front, middle, and the back.
- The back zone: This area should have the tallest or the biggest containers so that people can easily see them. If your containers aren’t that tall, you can create your own base to elevate the back row by using hard bound books, wooden crates or hard boxes. It’s tricky setting this area up, because you want your guests to be able to easily reach the candies placed here. Try not to fill it with bulk candy and instead use individually wrapped items or long easy to pick candy pieces.
- The middle zone: Display your most dazzling selection here to get everyone’s attention. You can also put the majority of your bulk candy selections here since they’ll take up most of the space anyway – do remember to make sure that they don’t block the view of the ones at the back.
- The front zone: Place your plates, bowls, and platters in this area, as long as they are low and won’t block the middle zone. This area is the easiest to reach, so don’t be afraid to go all out with the candy selection here or place your pre-packed personalized items here!
Lay out your jars, bowls and plates following these guidelines. You want your set-up to be cascading downwards, so start with the tallest in the back making your way to the shortest items in the front. The key is to make your set-up look overwhelming, without being messy.
Step 6: Fill ’em up!
For this step, you’re only limited by your imagination on what you can do. It’s all up to you on how you complement the pairings or groups in which candies are stored in.
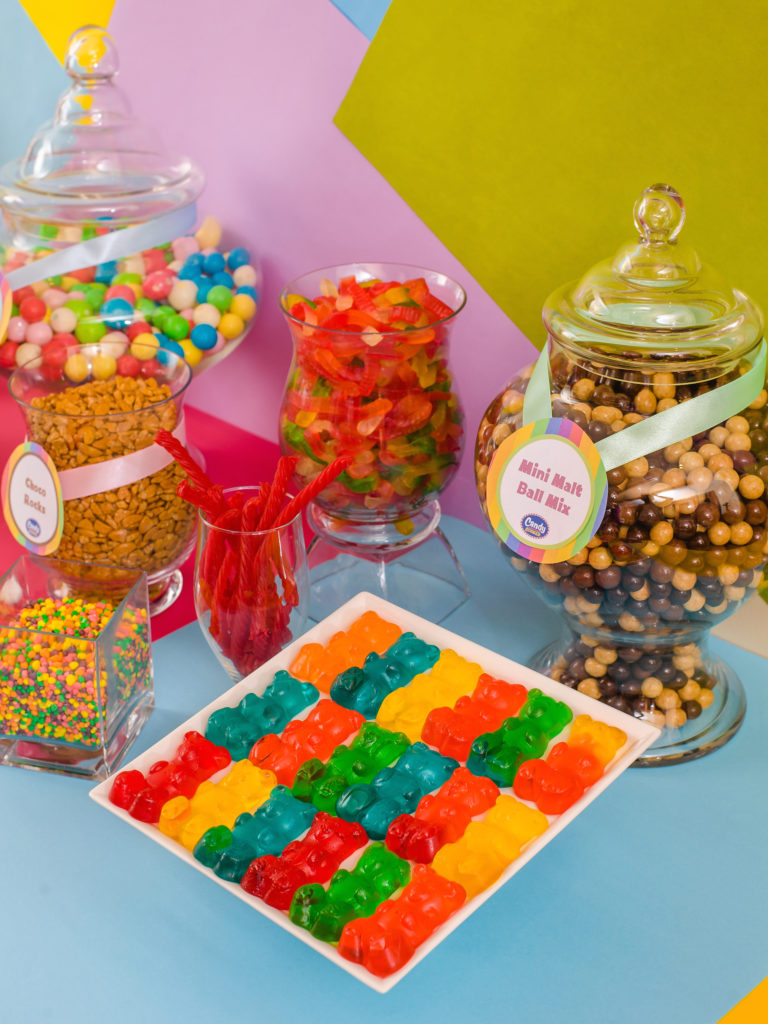
What candy goes into what jar?
- Big candy pieces like marshmallows, maltballs, jawbreakers, gumballs can go into your biggest available jar since they take up the most space
- Small pieces of candy like chocorocks, sunflower seeds, gummy bears must go into your medium to small sized jars since you can pack a lot more pieces/grams into a small space
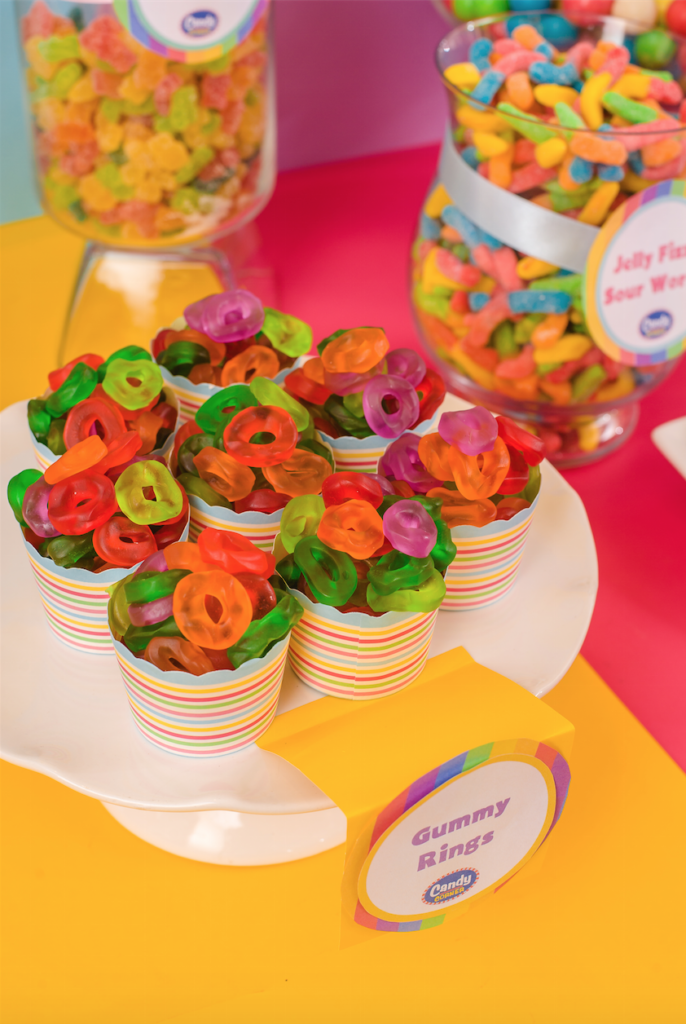
- Irregularly shaped candies, candies that easily flatten or deform can go into the patters/bowls/plates so that they don’t get squished while being packed into a jar
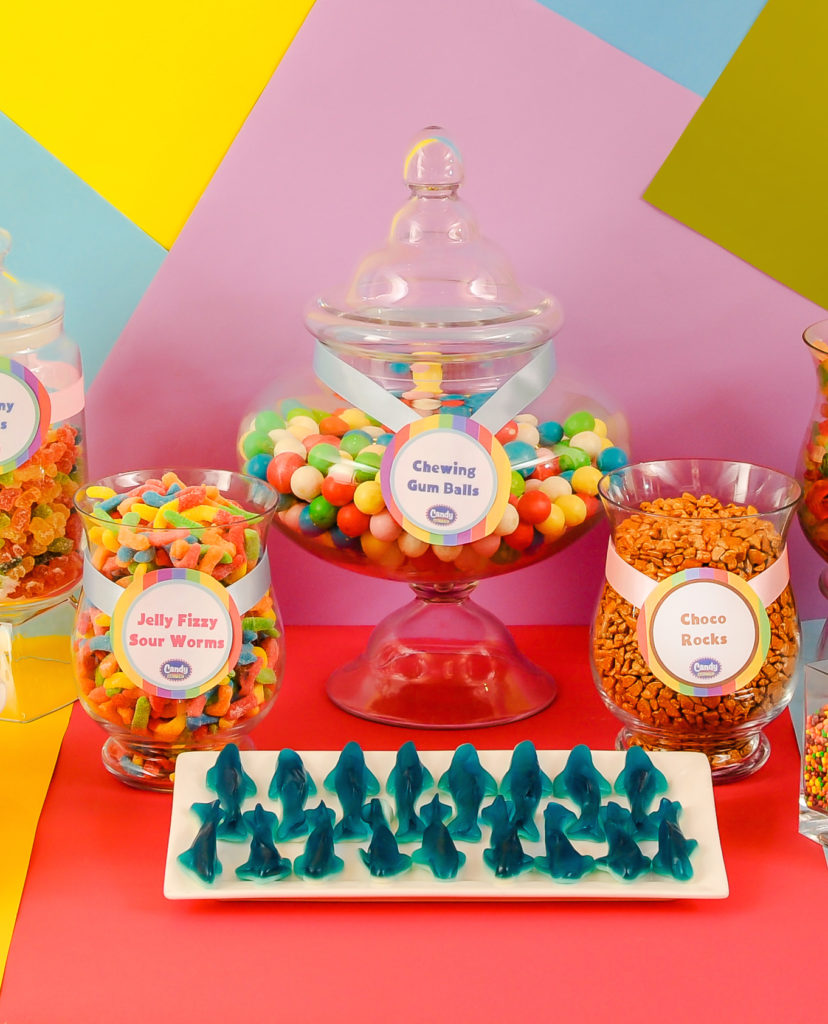
In what order should I arrange the different candy types?
- Try to strike a balance of colors, shades and candy types as you’re choosing where to put what.
- Don’t put the same candy shade of pink directly beside each other and instead balance it by putting it in the opposite end
- If you have a lot of multi colored mixes, place it in between two solid colored candies
- Don’t mix sour and oil gummies in the same jar, keep them separate so that flavors don’t mix
- If you have chocolate amidst the candy, distribute them evenly across both sides

MULTI-COLOR CANDIES

SOUR CANDIES

HARD CANDIES
Step 7: Top it off with decor!
You’re almost there – your candy buffet is finally coming together! Beyond the beautiful candies and chocolates, you want to accentuate it with some decor that goes with your event theme. This does not have to be too grand, all you need is some art supplies and creativity!
- Choose a solid colored tablecloth to complement your set-up
- Be hygienic! Provide clear or metal tongs and scoops, colorful chopsticks or other creative utensils for each jar so we can avoid guests using their hands
- Print out labels so that your guests know what type of candy is in each jar. There are lots of free templates online, or have fun with calligraphy or lettering for a personal touch.
- Have fun with your backdrop using crepe paper, cartolina, or even balloons! This does not have to be too extravagant, the backdrop in the photo below was made completely out of cartolina bought from the bookstore!
- Scatter confetti, curled ribbons, flowers, sequins, toys on the table for added detail to your set-up